Linking Attack Graphs
For a better comprehensibility of an attack graph and to ease modeling such graphs, this plugin allows to split an attack graph over several pages. To do so, a new node – a so called link node (white circle) – is introduced.
Linking two attack graphs together is done by linking two link nodes together. Each link represents an invisible edge flowing from a source to a destination link node. Over this edge all aggregated attributes (together with their values) on the destination link node are synchronized with the respective source link node.
Link nodes behave as ordinary nodes within an attack graph with the only restriction that no computed attribute will be calculated.
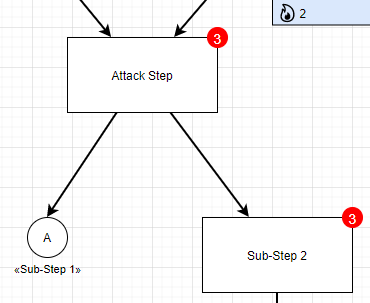
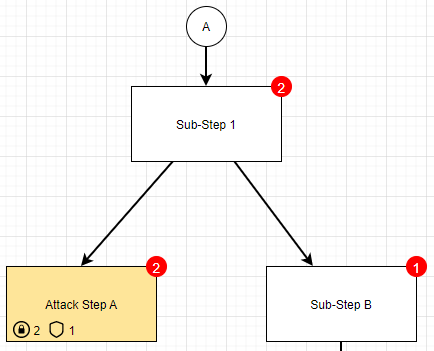
Example for a link
Source link node labeled as A and linking to page Sub-Step 1:

Destination link node labeled as A on page Sub-Step 1:

Creating links
To create a link, first add link nodes to the two pages that shall be linked.
Connect outgoing edges from nodes to the respective source link nodes and inbound edges from the destination link nodes to the respective attack graph nodes (cf. example above).
Then, give the two link nodes that shall be connected the same label (text inside nodes).
Finally, right-click on the source link node, click Edit Link..., and select the page in the drop-down menu (2nd bullet point) that contains the destination link node.
To test whether the linking was successful, hover both over the source and destination link nodes. The shown tool-tip should display the same attributes and values for the two link nodes.